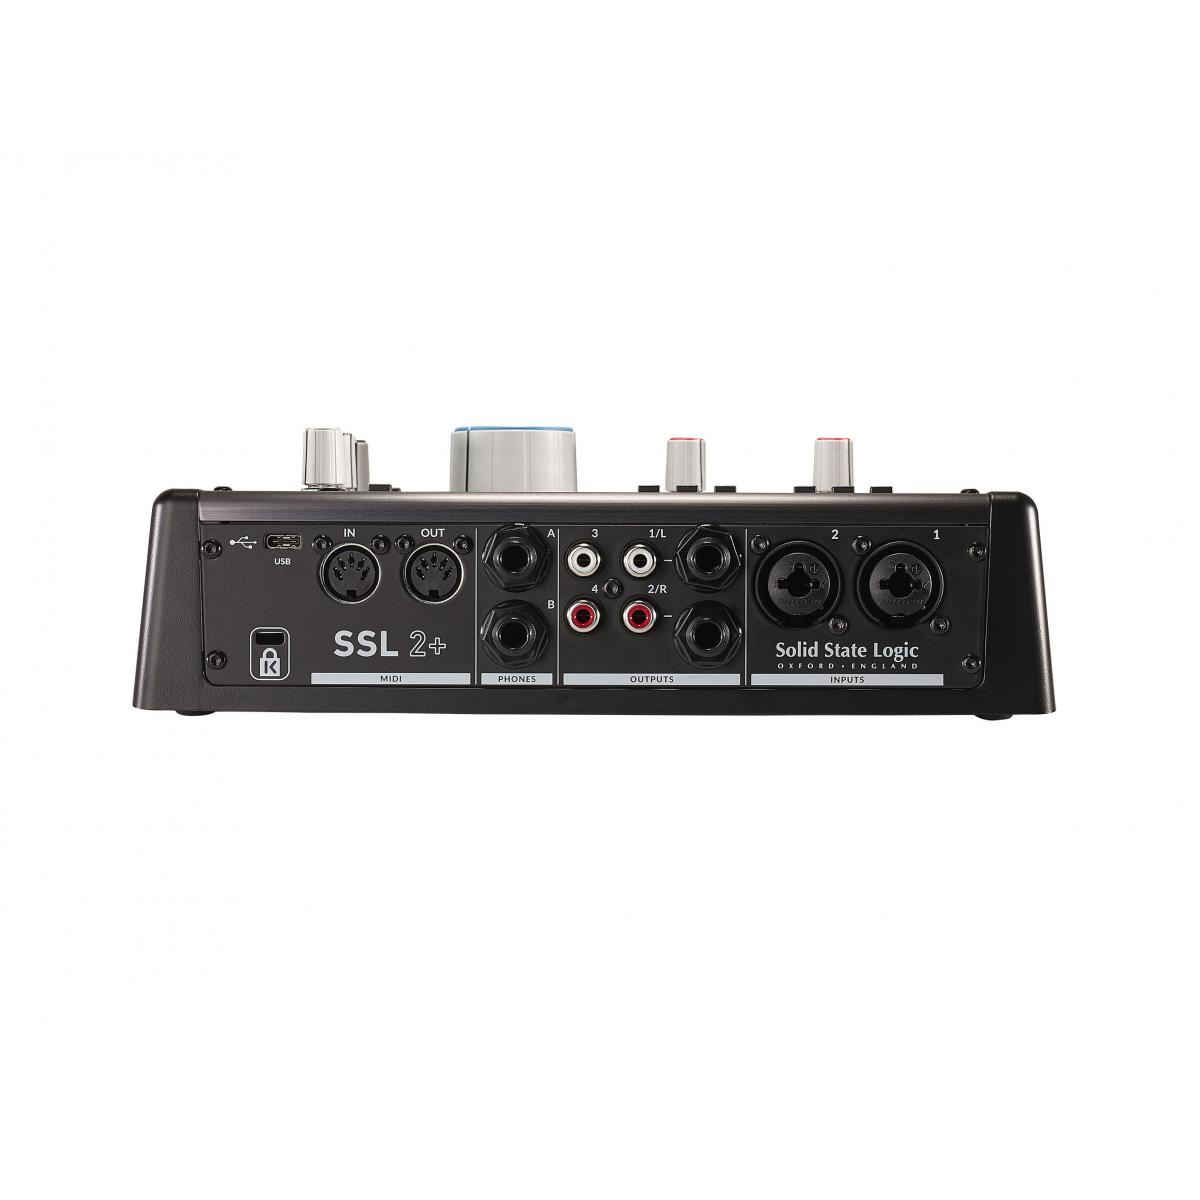
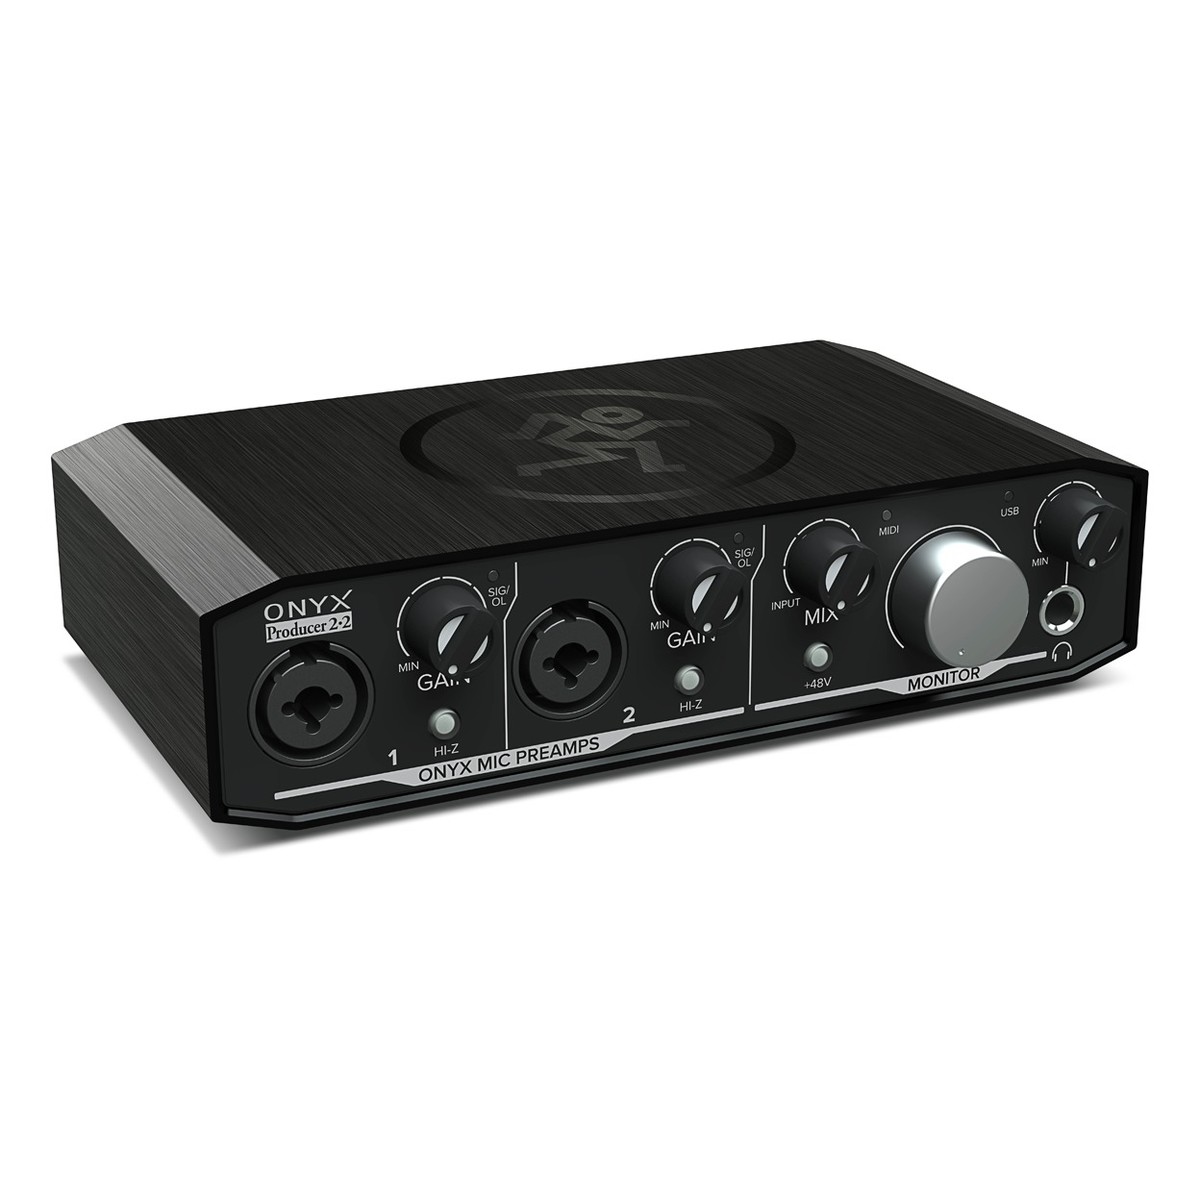
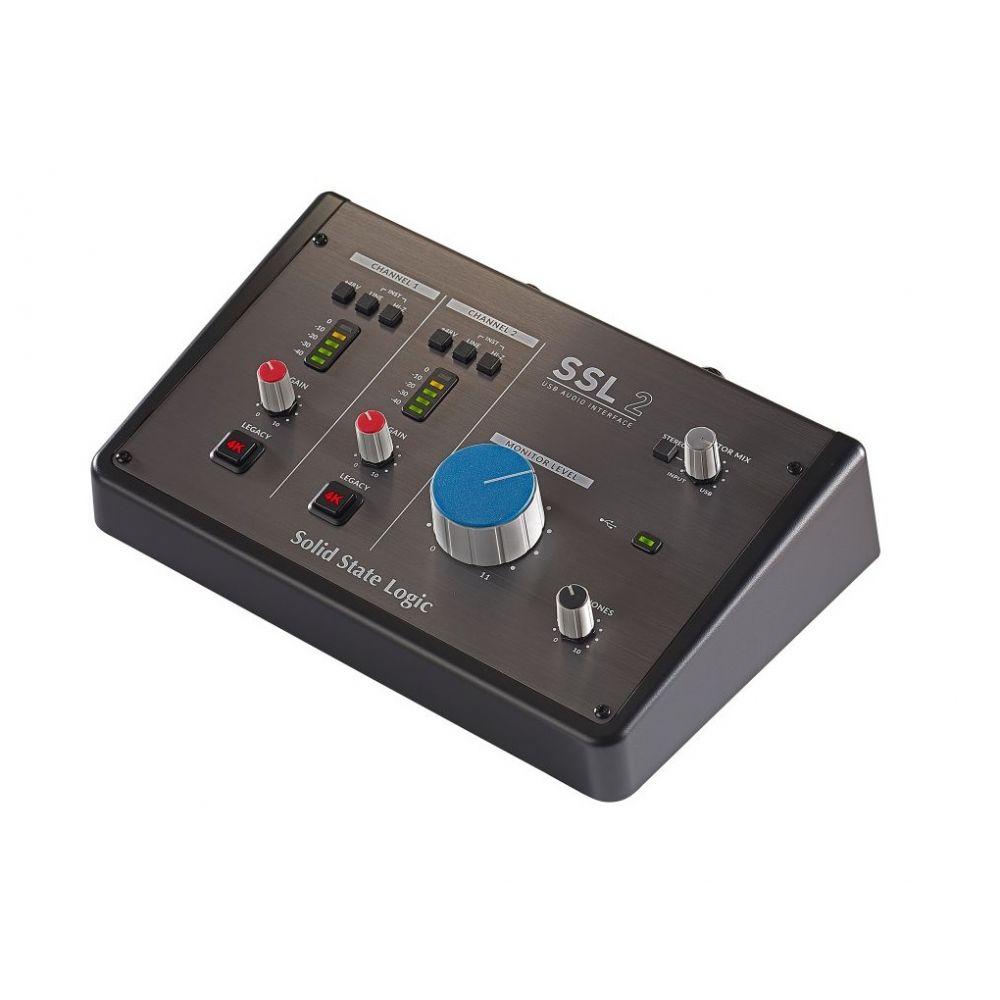
An audio interface is a piece of hardware that expands and improves the sonic capabilities of a computer. Some audio interfaces give you the ability to connect professional microphones, instruments and other kinds of signals to a computer, and output a variety of signals as well. In addition to expanding your inputs and outputs, audio interfaces can also greatly improve the sound quality of your computer. Every time you record new audio or listen through speakers and headphones, the audio interface will reproduce a more accurate representation of the sounds. They’re an absolutely essential component in computer-based audio production. They’re used for recording music and podcasts, and in video post production for recording voice-overs and sound design.
What Is An Audio Interface?
Connecting with Your Computer
Most modern audio interfaces connect to your desktop or laptop computer via a USB or Thunderbolt port (some older ones use different ports, such as PCI, PCIe or Ethernet). Most interfaces work with both Windows and Mac® systems.
Connecting and Converting Audio
An audio interface acts as the front end of your computer recording system. For example, let’s say you connect a microphone and record yourself singing. The mic converts the physical vibration of air into an equivalent (i.e., “analog”) electrical signal, which travels down the connecting cable into the interface’s mic input. From there, it goes into the interface’s built-in mic preamplifier, which boosts the low-level mic signal up to a hotter line level — something that’s necessary for recording. (The quality of both the microphone and preamp have a significant impact on how good a recording sounds.)
A Digital to Analog Converter (DAC) is something that most of us take for granted. There’s one in your satellite TV box, one in your CD Player and one in your computer. This device is the heart of your hearing experience with all forms of digital audio. When it comes to professional audio we want to use a high quality DAC to create a better, cleaner and sometimes more enjoyable experience.
Almost simultaneously, the now-digitized audio that originated at your microphone — along with any other tracks you’ve already recorded for the song — get sent back from the computer to the audio interface over the USB cable, where it goes through an opposite quick change, carried out by a digital-to-analog (“D/A”) converter, which turns it back to an equivalent analog electrical signal. That signal is now available at the interface’s line outputs to feed your studio speakers, headphone output(s), or other line-level devices.
We’re saying almost simultaneously because it actually takes a few milliseconds (thousandths of a second) for the audio to go through all these changes, from the time you start singing to the time you hear it back. That slight delay is called latency — something we’ll look at more closely shortly.
MIDI
Most audio interfaces also offer MIDI (Musical Instrument Digital Interface) inputs and outputs, which allow you to connect a MIDI keyboard or other MIDI controller to your computer. The input(s) allow you to play software-based instruments (“virtual instruments”) that open as plug-ins (software add-ons) inside your DAW or as standalone applications. An interface’s MIDI output(s) makes it possible to connect an external MIDI sound source like a synthesizer or drum machine and have it “played” by MIDI data that you recorded in your DAW.

How to Choose an Audio Interface
Now that we’ve covered the basics of how audio information is translated to the computer and back, you should have an understanding of bit depth and sampling rate. In a pinch just remember that 16 bit / 44.1k is standard for CDs but 24bit / 48k is a much better resolution of sound. You want your audio interface to record and playback music in the most transparent way possible. For this reason go with the best resolution and sample rate that you can afford.
The next variable to consider is how you will use this device. Is it primarily for playing back music from within the computer? If so you can get away with a fairly cheap interface that will provide great sound. If you want to record outside sources, however, there are many more variables to consider such as how many inputs / outputs you will need and what kinds of signal will be recorded (microphone or line level, for instance.) The more inputs you need, the more expensive the device. Microphone pre amps are also a costly variable that you can avoid if you don’t record vocals. Conversely, if you do record vocals, get an interface with a good preamp or use a mixer in your setup. Other features to consider include MIDI ports, monitor options and optical (digital to digital) ins/outs. Making a list of the things you want to connect will help this process of narrowing down which interface is right for your situation.
Audio Interface Connection Types
USB Audio Interfaces are the most affordable and most common type of interface to find on the consumer market. Universal Serial Bus is a format for connecting a wide range of external peripherals to your computer. With USB 2.0 the speed of this protocol increased significantly to allow higher transfer rates of information, more inputs/outputs and the ability to power some devices over a USB cable. The advantages of a USB based audio interface are usually price (they come as cheap as you want) and ease of use (just plug it in and go.) However, if you work with multiple inputs/outputs or at at high resolutions, you may find a USB interface limiting to your creativity. Most USB interfaces are limited to a few ins and outs, and a limited number of channels to/from the computer. But for some this could still be a perfectly functional setup. If you do all your work “in the box” (on the computer, with no outboard gear), then you might not need additional ins/outs and a USB interface could be a perfect and affordable solution.
FireWire Audio Interfaces use an IEEE 1394 / Firewire type connection cable. Firewire is generally more expensive than USB but offers a faster connection. If your computer has this type of connection it’s a good choice for a low-latency, high-bandwidth, plug-and-play setup. This connection was developed by Apple and was simultaneously supported by Sony (who calls it IEEE 1394) so it’s become a highly-supported protocol for connecting digital devices to computers. The speed of Firewire is similar to that of USB 2.0 but Firewire handles heavy data traffic much more efficiently. Firewire is intended for devices working with a lot more data (things like camcorders, DVD players and digital audio equipment.) When using this protocol for Audio Interfaces the plug-and-play operation combined with peer-to-peer connectivity make this format ideal for setup and easy expansion. Firewire audio interfaces tend to have more inputs/outputs and offer a higher sample rate than many of their USB-based peers.
PCI Audio Interfaces use an expansion card that physically installs into your computer (usually a tower-based PC) and uses cables or a break out box to connect to your audio devices. The advantage of this format is speed and the ability to run multiple inputs and outputs. This format does require opening up your computer and installing physical hardware. This format is also primarily for tower-based computer configurations (so it won’t work with your laptop or iMac.) PCI based audio interfaces can provide great stability for data transfer but the setup for these is usually a lot more complicated.
Which one is the best port to use to connect an audio interface to a computer?
This depends on your specific needs. If you plan on tracking and overdubbing with multiple microphones or instruments simultaneously, you’re better off using a high-speed port such as FireWire. If you don’t plan on recording with more than two microphones at a time, you’ll likely be fine just using a USB interface. The more demanding your needs, the higher the bandwidth of an interface you’re going to need. The hierarchy of interface bandwidth speeds from lowest to highest goes from: USB 1.0, USB 2.0, FireWire, PCMCIA/ExpressCard, PCI.
What is “Phantom Power” and why would I need it?
Some microphones require a little flow of electricity in order to operate, while other kinds of microphones are capable of picking up sound without any power at all.  Certain kinds of microphones run on batteries, while other kinds of microphones are fed power from the device that they’re plugged into. It’s called “phantom power” when the device that the microphone is plugged into supplies it with electricity. Most audio interfaces that feature mic inputs will also supply phantom power. Because only certain kinds of microphones require phantom power, audio interfaces have a switch to turn it on and off. Phantom power tends to intimidate beginners because it just sounds spooky. Fear not. Using phantom power is about as complicated as flipping a light switch to turn on a table lamp. Besides being called phantom power, it is also referred to as “+48V.”
What accessories should I get for my audio interface?
Audio interfaces often serve as the heart of a recording studio.
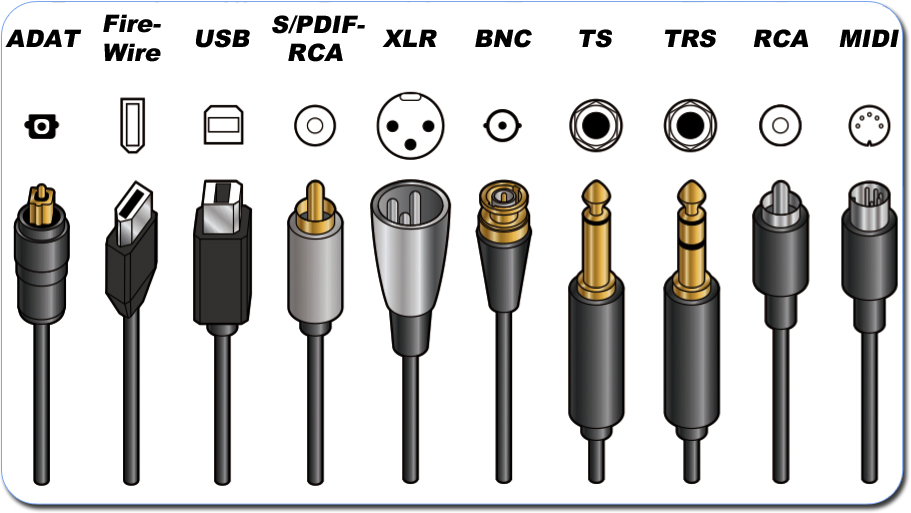
Most of the essential tools used in a studio will be connected to the interface directly and indirectly. Of them all, powered studio monitors tend to be the most common tools used with audio interfaces. The cables will vary in length, depending on your setup, with terminations that are appropriate for each item. These might be ¼” TS to ¼’ TS, ¼” TRS to ¼” TRS, ¼” TRS to XLR, XLR to XLR, etc.
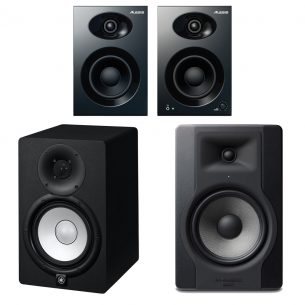
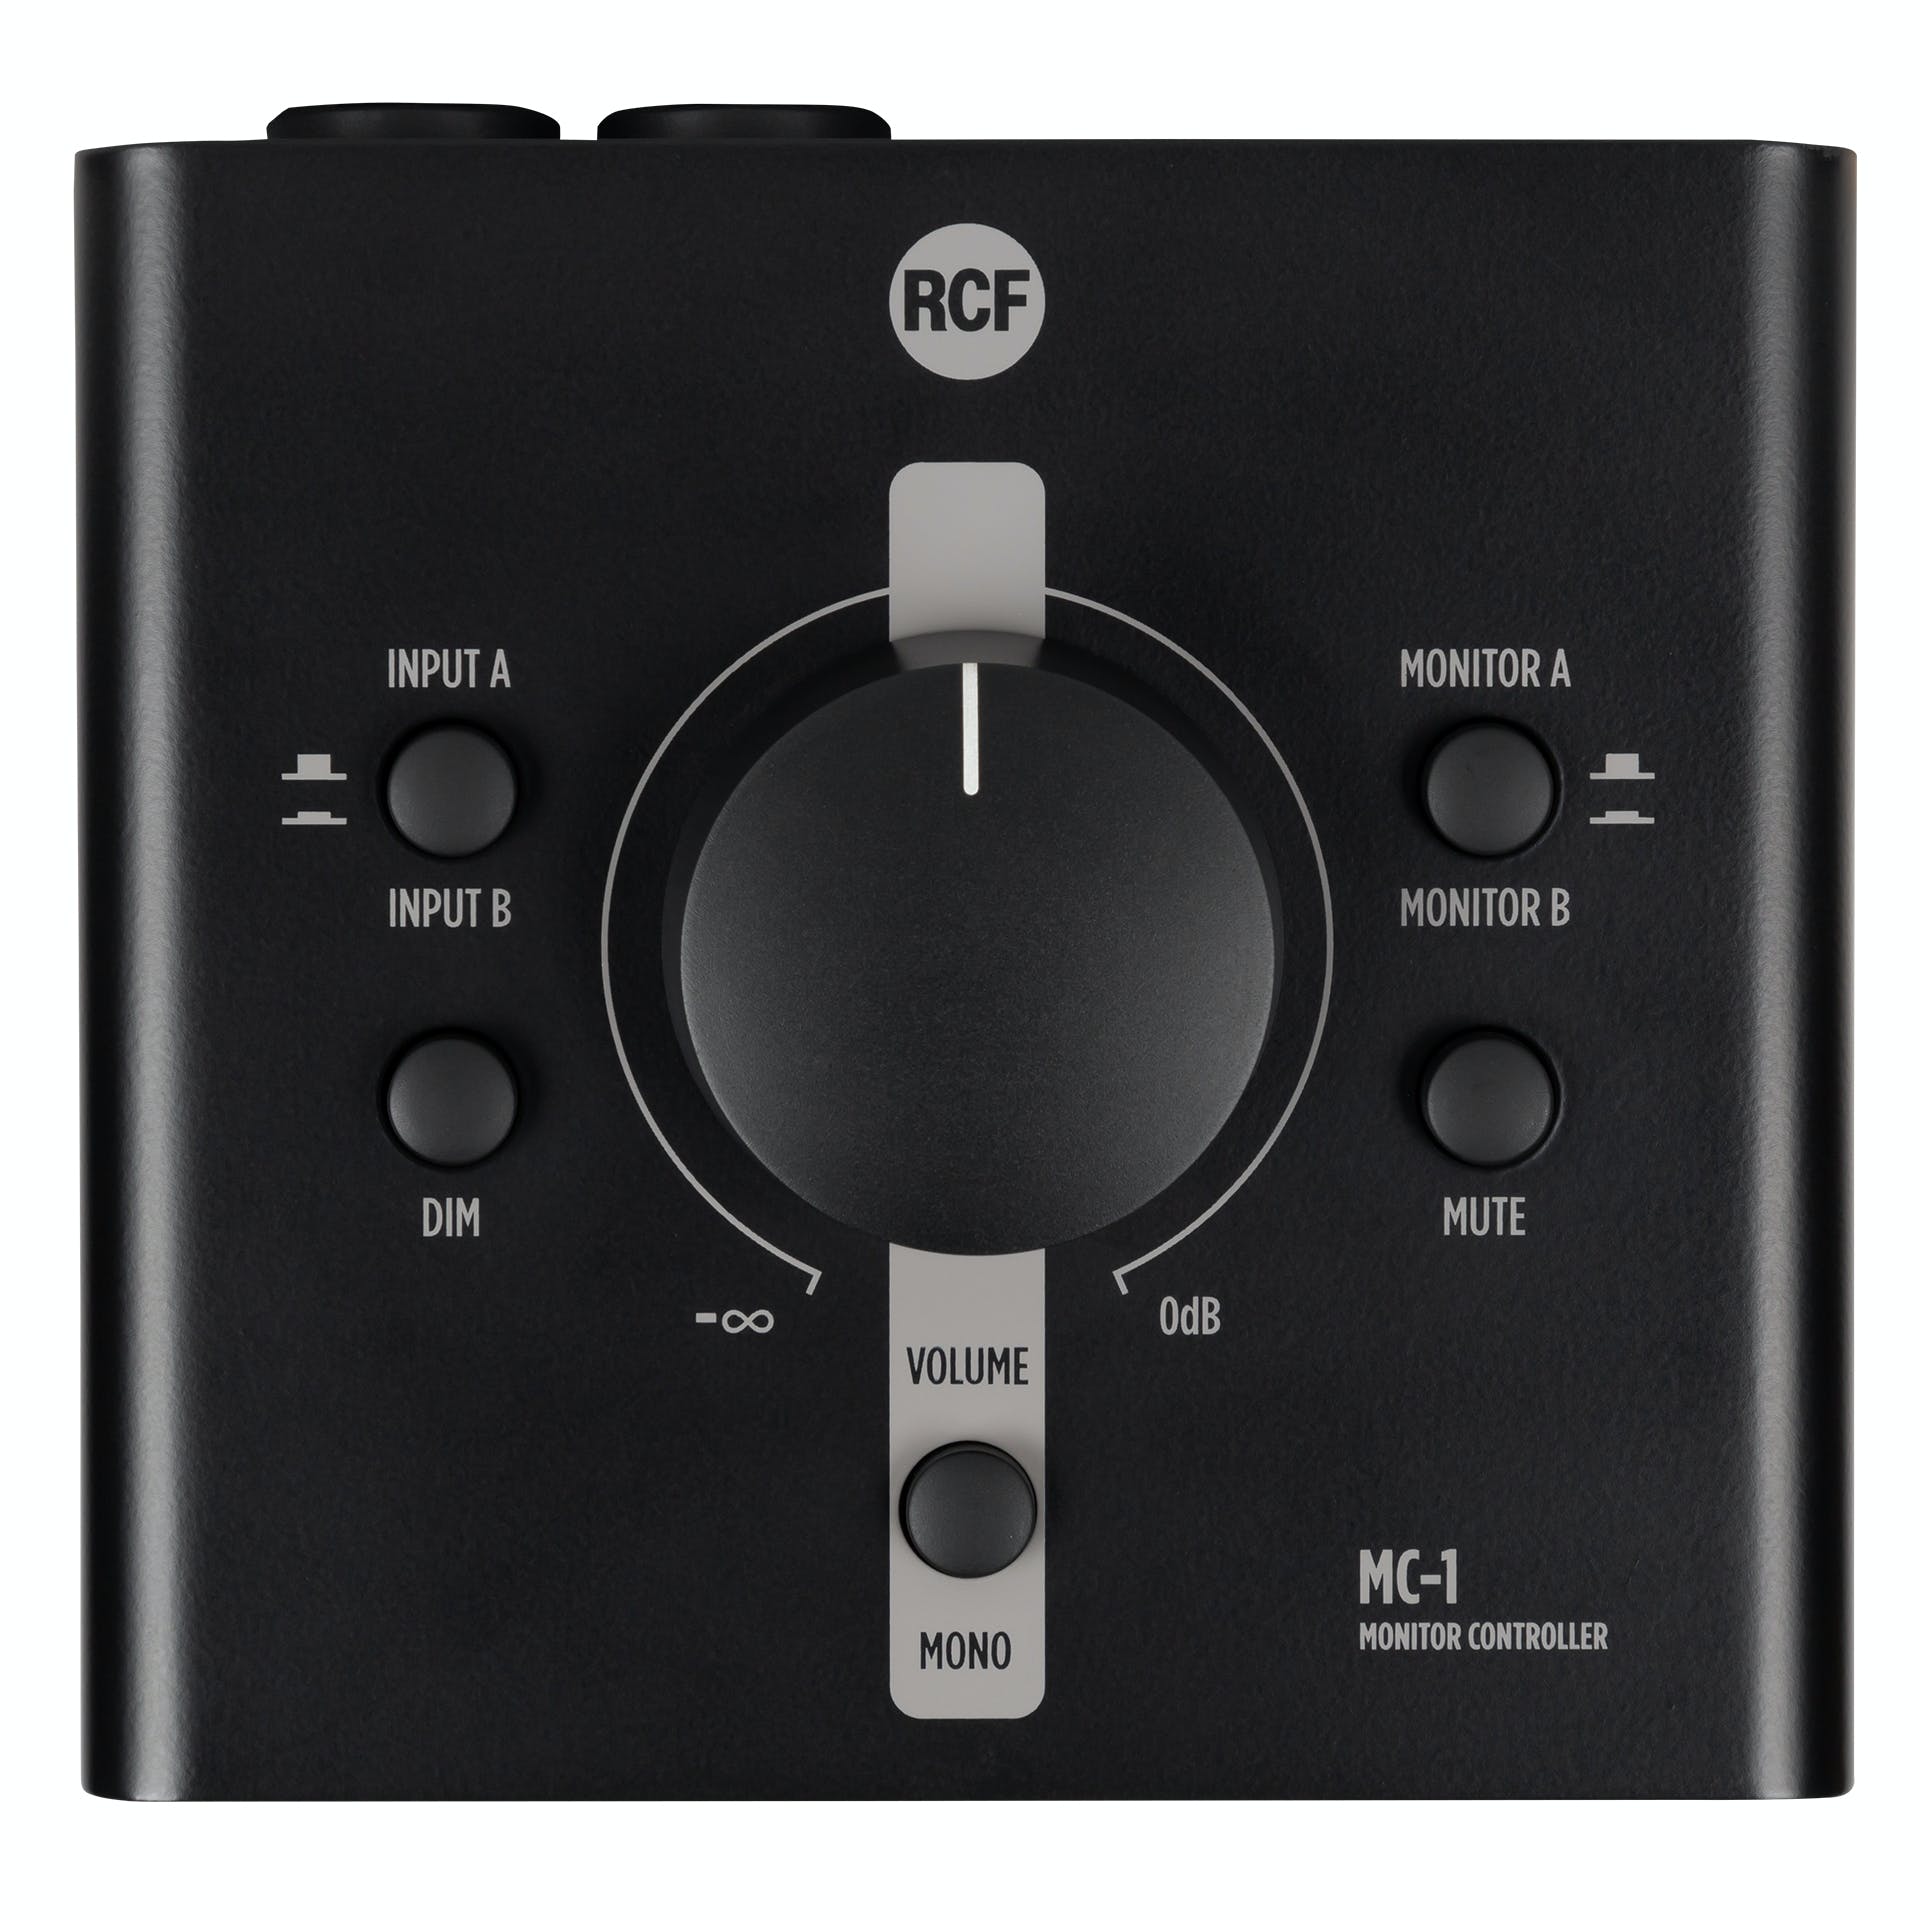
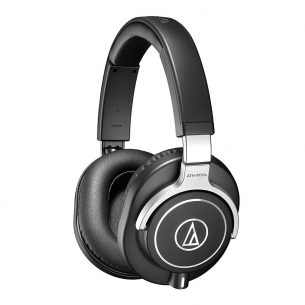
With powered monitors in place, you’ll be able to properly hear what you’re working on. When you need to monitor your work privately, a good pair of studio headphones is an essential tool.
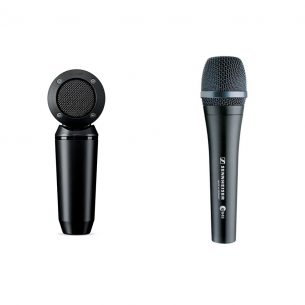
The need to plug professional-quality microphones into a computer is the most common reason people purchase audio interfaces. Naturally, having a few good studio microphones to use with your audio interface is a good idea. Mix it up and buy a variety of mics. Having a solid dynamic microphone is a great place to start. Adding a large diaphragm condenser microphone will really expand your sonic palette and let you make good use of your phantom-power switches. Small diaphragm condenser microphones are really great for capturing cymbals and various instruments. And a ribbon mic will round out your mic collection with its ability to capture smooth mid frequencies.
